After a series of upgrades, Sapo officially launched a free sales management application, running on both iOS and Android. This free sales management software is suitable for everyone who is doing business online, or having stores with less than 500 product codes.
In general, the Sapo free sales management app is similar to a POS machine, with a full range of features, such as:
- Sales at the counter
- Create order & forward to logistics providers for delivery
- Manage Input – Output – Inventory conveniently
- P&L, Inventory report
Link to download Sapo free sales management application: https://www.sapogo.com/

After installing the application successfully on your phone, you need to register an account to use (if you have registered before, just press login, no need to register again). Sapo allows users to use Facebook, Google account, Apple account (for iOS) or Gmail account to create an account.
Set up Sapo free sales management software for beginners:
After successful login, to turn your phone into a portable POS system, you need to do a few basic settings as follows:
1.Set up store information: Include your store name, phone number and store address.
2. Add product: This is an important step to take. You should upload information of all the products that you are selling on the application. To save setup time, you can input information of some of the store's main products first to experience and familiarize yourself with the app, and add more products later. At this step, there are few things you should pay attention to:
- Upload product photos: You can upload product photos to identify products better or leave this item blank.
- Enter product name
- Enter product code: For products with existing barcodes, you can use the barcode scanning feature on the app which is integrated for free on the Sapo app. Product code (also known as the SKU code) should have consistent naming rules. It is advised not to leave this field blank (If left blank, the system will generate a default code) as it will become very difficult to manage according to your needs. If you are unsure, you can learn more in the article “Setting SKU code” of the application.
- Enter weight, product measurement unit (if any)
- Inventory quantity: To report accurately, input data need to be entered accurately in both quantity and variation. Inventory quantity allows you to check whether or not stock is still available when placing the order, so don't make mistakes at this step.
- Price policy: The application will display 4 different price types. 2 information fields you need to enter are Retail Price and Unit cost. Enter the correct unit cost and your P&L report will be accurate.
- Other items such as: product classification, conversion unit, brand, product description (if any)
3.Start selling
With only 2 steps above, you already can start selling. In this step, you can become familiarized with selling on Sapo by creating an order right away. Select Create an order, choose the product you have just added in step 2 and enter the quantity to sell as well as discounts. Specific customer information can be ignored.
Choose a payment method: Sapo app currently supports 4 diverse methods as follows: payment via bank card, COD payment, bank transfer or cash payment. You will not need to worry that it will inconvenience customers with too few payment methods.
Finally, press the button Create order and delivery, there will be 2 options: Choose an external shipping partner or Pickup at store.
As soon as you press the button to complete the order, the application will immediately update the sales of that order to the main interface, and calculate the amount to the total sales . You will not need to manually calculate anymore to know the sales of your store that day.
You can refer to more details here: Instructions on how to add products on the application
Now that the setup is complete, you can now start selling and managing your products and sales.
Some basic features on Sapo free sales management application:
2.1. Create an order
Some practical cases in which you need to create an order:
• Customers come to your shop to buy goods, you create order and check out at the counter
• Customers order online via Facebook, Website..., you create orders to store manage sales data, and forward order information to logistics providers
Sapo has quite detailed instructions on creating orders on the Support page, you can see in the article: How to create A-Z orders on App Sapo
2.2. Approve order and ship
After creating the order, you have 2 different options:
After creating the order, you have 2 different options:
• Sell directly to customers at the counter: you can checkout products immediately and print receipts for customers
• Sell online to customers: You can forward the delivery information for a logistics provider, or use in-store delivery staff
Once done, don't forget to press the “Ship” button before sending the product for delivery so that the app will update the stock!
2.3. Return order:
If your store has a return policy, when the product bought by customers has an error, or customers does not like the product, they can go to the store to return, or exchange into a different product. At this time, the employee will need to perform the return operation.
At this step, just remember to check the box "Received" for the system to update the exact quantity of stock in the inventory View details: Updating returns status features on Sapo application
2.4. Manage delivery
After the item has been dispatched, you will need to be updated of the delivery status. Keep track of the delivery process and update it on the Sapo app to know exactly where the package is and whether customer has received it or not
Customers are usually very eager to receive the product they ordered, therefore they will often inquire store owner about delivery status. You can use this feature to check whether the product has been shipped, or use order information to check detailed delivery status on the respective logistics website.
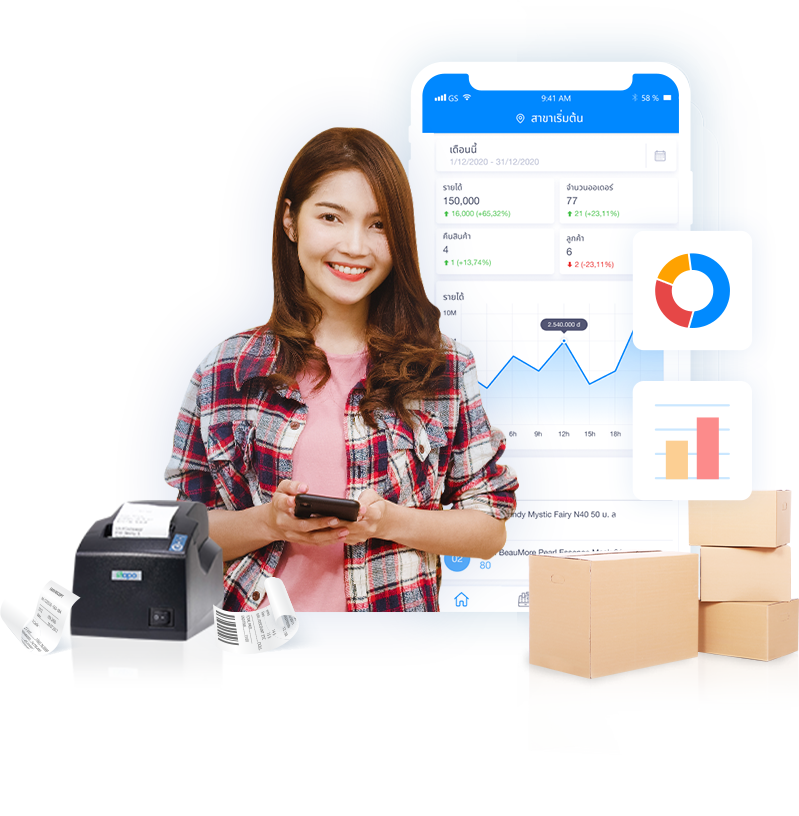
2.5. Sales report:
The app can produce daily, weekly and monthly sales/inventory report with a few simple steps. You no longer have to spend lots of time to calculate and create reports, as Sapo has had them ready for you.
Overall, this is a very useful sales management app for you to use. Download app Sapo to your phone now and manage sales, check inventory, etc… using a few simple steps! And most important of all, this app is completely free!